How to Replace Window Screen Mesh
Release time:2025-12-24 Click:27
Replacing window screen mesh is a relatively simple DIY task that can help improve the functionality and appearance of your windows. Here is a step - by - step guide on how to do it.
Step 1: Gather the necessary tools and materials
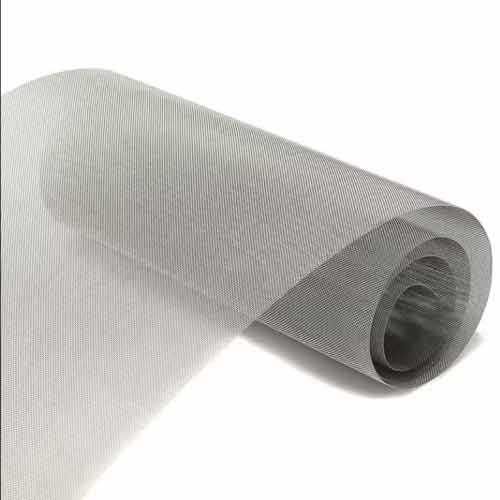
You will need a new roll of screen mesh, a screen spline roller, a utility knife, a screwdriver (if your window frame has screws), and a measuring tape. Make sure the new screen mesh is of the appropriate size and material for your windows. Common materials include fiberglass and aluminum, each with its own advantages in terms of durability and visibility.
Step 2: Remove the old screen mesh
If your window screen is held in place by a frame with screws, use the screwdriver to remove the screws. If it is held by a rubber spline, gently pry up one corner of the spline using the utility knife or a flat - head screwdriver. Once you have a start, slowly pull the spline out of the groove around the perimeter of the screen frame. As you remove the spline, the old screen mesh will come loose. Carefully take it out of the frame.
Step 3: Measure and cut the new screen mesh
Lay the old screen mesh on top of the new roll and use the measuring tape to transfer the dimensions. Alternatively, measure the inside dimensions of the window frame directly. Add about an extra inch to each side of the measured dimensions to ensure that the new mesh will overlap the frame slightly. Use the utility knife to cut the new screen mesh along the marked lines.
Step 4: Install the new screen mesh
Place the cut new screen mesh over the window frame. Start at one corner and use the screen spline roller to press the rubber spline into the groove, securing the mesh in place. Work your way around the perimeter of the frame, gradually pressing the spline in and pulling the mesh taut. Make sure the mesh is evenly stretched across the frame to avoid wrinkles or sagging.
Step 5: Trim the excess mesh
Once the spline is fully installed around the frame, use the utility knife to carefully trim off the excess screen mesh that is overlapping the frame. Be careful not to cut the spline or damage the newly installed mesh.
Step 6: Re - install the screen (if necessary)
If you removed screws in step 2, use the screwdriver to re - attach the screen frame to the window frame. Make sure it is securely fastened.
By following these steps, you can successfully replace your window screen mesh, improving ventilation and keeping insects out of your home.
Previous article:Installation Steps for Fixed Window Screens
Next article:Why Trust the Airflow of Breathable Window Screen
Hot products
Mobile: +86 13253222720
Email:metalproducts2026@163.com
Email:2671275026@qq.com