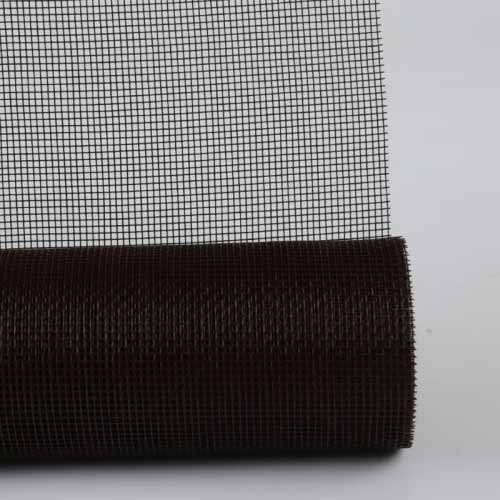
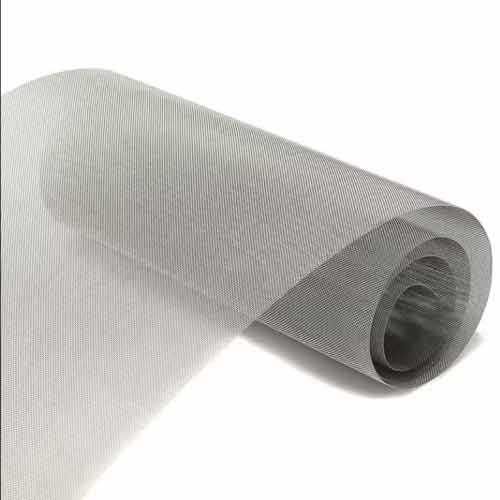
Product details description
Measuring for a replacement window screen is a precision task where even a
1/8-inch error can result in a frame that is too loose (rattling in the wind) or
too tight (bowing the window frame or tearing the mesh). Unlike standard
windows, screen frames are often "retro-fit" into existing aluminum or vinyl
tracks, requiring exact dimensions of the "visible glass area" rather than the
entire window unit. The process differs slightly depending on whether the screen
is inside the frame (inside mount) or covers the frame from the outsidesurface
mount), with inside mounts being the most common for modern residential
windows.
Step 1: Determine the Mounting Type.
Inspect the window jamb to see if there is a groove or rabbet cut into the
metal or wood where the screen frame sits. If there is a deep groove (at least
1/2 inch), it is an inside mount. Measure the width at the top, middle, and
bottom of the glass opening, and the height at the left, center, and right. Use
the smallest width and the smallest height for your order dimensions. This
"min-min" rule ensures the screen fits into the tightest part of the opening
without forcing it, which could crack the glass or deform the frame. If there is
no groove and the screen sits against the wall, it is an outside mount; measure
the entire window frame (trim-to-trim) and add 1-2 inches of overlap on all
sides to prevent insects from entering behind the screen.
Step 2: Measure the Width.
Use a steel tape measure (cloth tapes stretch and are inaccurate). For
inside mounts, pull the tape tight from side jamb to side jamb at three points:
top, middle, and bottom. Record all three. Do not pull the tape so hard that it
bows the frame. If the window is old and the frame is warped (common in wood
windows), take the measurement at the point where the screen will actually sit,
which might be slightly recessed. For outside mounts, measure the width of the
exterior trim or the area you want the screen to cover. Add 3/4 inch to 1 inch
to this measurement to allow the screen frame to overlap the opening and be
secured with spline or screws.
Step 3: Measure the Height.
Measure from the head jamb (top) to the sill (bottom) or the inside edge of
the apron. Again, take three measurements: left side, center, and right side.
For inside mounts, measure to the point where the screen stops—this is usually
where the window sash meets the frame when closed, not necessarily the very
bottom of the glass. Subtract 1/4 inch from the smallest height measurement to
provide "clearance" for the screen to swing or slide without rubbing against the
weatherstripping or the sash. For outside mounts, measure to the bottom of the
exterior frame and add 1 inch for the overlap.
Step 4: Check for Obstructions and Hardware.
Look for cranks, latches, or hinges that protrude into the screen opening.
If the window is a casement type that opens outward, the screen usually sits
behind the crank handle. You may need to measure the "cutout" area specifically,
excluding the handle's sweep. For windows with grilles (muntins/bars), measure
the screen as one large piece if the grilles are fixed, or measure individual
lights if the grilles are removable and you want separate screens. Note that if
the screen is retractable (rollscreen), you must also measure the housing box
depth and the travel path of the roller.
Step 5: Specify the Corner and Spline Details.
Most screens are rectangular, but arched or triangular windows require
custom templates. For standard screens, decide on the corner style: "keyed"
(screws inserted from the back, most secure), "staked" (screws from the front,
decorative), or "welded" (strongest, for heavy-duty screens). Also, measure the
depth of the spline groove (the channel where the screen mesh is pressed in).
Standard spline is usually .140 or .160 inches, but older windows may use metric
or oversized spline. If you are reusing the old frame, measure the existing
spline diameter with a caliper to ensure the new mesh fits the groove.
Step 6: Final Verification and Tolerance.
Before ordering, apply the "1/16th rule": the screen should be 1/16 inch
smaller than the opening in width and height to allow for thermal expansion of
the frame and easy installation. If the opening is 36.00 inches wide, order a 35
15/16 or 35.93 inch screen. Double-check that the screen material (fiberglass,
aluminum, or pet-resistant) matches the environment—aluminum for high
visibility/strength, fiberglass for corrosion resistance near the coast.
Finally, if installing a full frame replacement, ensure the new frame's flange
depth matches the window track depth to prevent the screen from sitting too
proud or too deep.
Previous article:
How to Clean and Maintain Window Screens
Next article:
Magnetic Window Screen - Easy Installation & Removal