Product details description
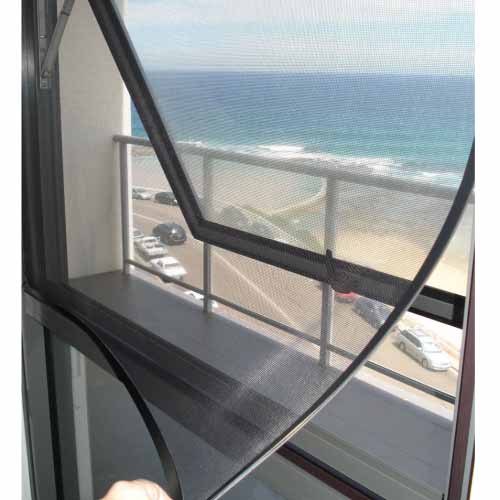
The installation of window screens represents one of the most accessible
and rewarding home improvement projects available to homeowners, providing
benefits that extend from insect protection and enhanced ventilation to improved
energy efficiency and aesthetic enhancement. Modern window screen systems have
evolved to accommodate diverse window types including single-hung, double-hung,
sliding, and casement configurations, with standardized sizing conventions and
attachment mechanisms that enable homeowners to achieve professional-quality
results without specialized contracting experience. The fundamental components
of a window screen system—the frame, screen mesh, and retention hardware—can be
sourced from home improvement retailers in standard sizes or custom-ordered for
non-standard openings, providing flexibility for both replacement of damaged
existing screens and first-time installation in new construction or renovation
projects. Understanding the basic tools required and the sequence of
installation operations enables confident completion of screen installation
projects that enhance home comfort and functionality throughout the changing
seasons.
Essential tools for DIY window screen installation include a screen rolling
tool, sometimes called a spline roller, which presses screen mesh into the frame
channel and secures it with spline material; a utility knife or scissors for
cutting screen material to size; a measuring tape for accurate dimensioning; and
a flat screwdriver or spline removal tool for accessing existing screen frames
when replacement is required. Screen frame kits typically include pre-cut or
easily cuttable frame components with factory-mitered corners, spline material
in appropriate diameters, and detailed instructions that guide assembly and
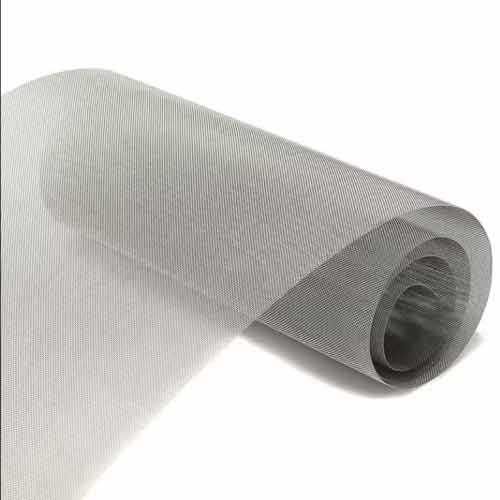
installation. Screen mesh materials range from standard fiberglass screening,
which provides excellent value and adequate durability for most residential
applications, to aluminum screening offering superior durability and resistance
to damage from pets or accidental impact, to specialty meshes providing solar
shading, pollen filtration, or enhanced visibility characteristics. The
selection of mesh material should consider exposure conditions, aesthetic
preferences, and functional requirements specific to each installation
location.
The installation process for window screens varies somewhat depending on
whether the project involves new frame construction or replacement of existing
screens within pre-installed frames. For new frame construction, the process
begins with measuring the window opening and cutting frame components to
appropriate lengths, typically using a hacksaw or miter box for clean, square
cuts. Corner connectors or hardware is then installed to join the frame members,
creating a rigid rectangular frame structure that fits within the window opening
with appropriate clearance. Screen mesh is then laid over the frame and secured
by pressing spline material into the frame channel using the spline roller, with
proper tensioning essential to prevent sagging while avoiding excessive tension
that could tear the mesh or distort the frame. Replacement of existing screen
mesh follows a similar process after the damaged mesh and old spline are removed
by prying out the spline and discarding the worn material, with care taken to
preserve intact frame components for reuse.
Troubleshooting common issues and implementing best practices ensures
successful window screen installations that provide years of reliable service
with minimal maintenance requirements. Sagging screens typically result from
insufficient tension during installation or stretching of the mesh material over
time, and can often be remedied by removing the spline, re-tensioning the mesh,
and reinstalling with fresh spline material. Frames that do not fit properly
usually indicate measurement errors or accumulated debris in the window track
that should be cleaned before attempting screen installation. Pet damage to
screen mesh can be addressed withpet-resistant screening materials that feature
reinforced strands designed to resist clawing and chewing, though even these
reinforced materials may require periodic replacement in homes with determined
pets. Seasonal removal and storage of screens, particularly in climates with
harsh winter conditions, extends the service life of both the screen mesh and
frame components by protecting them from accumulated snow loads, ice damage, and
the corrosive effects of winter de-icing chemicals that can degrade screening
materials over time.
Previous article:
5 Key Steps to Install a Window Screen: Measuring, Cutting, and Securing Frames Without Gaps
Next article:
Retractable Window Screen - Space-Saving & Convenient