Product details description
Installing a window screen is a DIY project that requires precision to
ensure it functions correctly and looks professional. The first step is accurate
measuring. You must measure the window opening, not the old screen or the glass.
Measure the width and height at three points (top, middle, bottom) and use the
smallest measurement. The screen frame needs to be slightly smaller than the
opening (usually 1/8 to 1/4 inch clearance) to fit inside the jamb and allow the
window to operate without rubbing. If the screen is for a "rolling" window, you
must also measure the depth of the track to ensure the screen frame isn't too
thick to slide.
The second step is cutting the frame and the screening material. Aluminum
or fiberglass screen frames are usually mitered (cut at 45-degree angles) at the
corners. A miter box and a fine-tooth saw (like a coping saw or hacksaw) are
essential for clean cuts. The screen mesh should be cut 2 inches larger than the
frame on all sides. This excess material is wrapped around the spline and
pressed into the groove of the frame. It is crucial to cut the mesh square; a
parallelogram-shaped mesh will result in a wavy screen that looks unprofessional
and won't fit flat.
The third step is assembling the frame. Lay the frame pieces on a flat
surface. Roll the spline (the rubber cord that holds the screen in) into one
corner of the frame. Start at a corner, unroll a length of spline, and use a
convex roller tool (or a screwdriver wrapped in tape) to press the spline and
the screen mesh into the groove. Pull the mesh taut as you go—too loose and the
screen will ripple; too tight and the frame will bow outward. Work your way
around all four sides, ensuring the mesh is pulled evenly. Trim the excess mesh
with a sharp utility knife, using the frame edge as a guide.
The fourth step is installing the corners and reinforcing the joints. For
metal frames, self-tapping screws are used at the mitered corners to keep them
from separating. For plastic or wood frames, glue or corner keys are used. It is
vital to ensure the corners are square (90 degrees); if they are askew, the
screen won't fit into the window opening. Some screens require a "screen stop"
or "clips" to be installed on the window jamb itself. These act as a ledge for
the screen frame to rest on, preventing it from falling inward or outward.
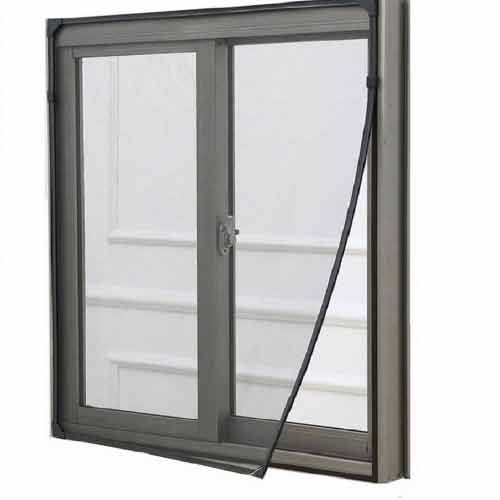
The final step is fitting and testing. Place the screen into the window
opening. It should sit snugly but not be forced. For double-hung windows, check
that the bottom sash can still slide up and down without catching on the screen
frame. If there are gaps where insects can enter, you may need to add foam tape
or weatherstripping to the back of the frame. For hinged windows, ensure the
screen doesn't obstruct the crank handle. A properly installed screen should be
removable for cleaning but stay firmly in place during wind gusts.
Previous article:
Window Screen with Frame - Complete Ready-to-Install Unit
Next article:
DIY Window Screen Installation: Tools and Techniques for Homeowners